Choosing your wedding invitations can be complicated. I mean, it’s not likely that you’ve spent this much on paper before. And honestly, there are just so many options out there. If you don’t know where to start, this Essential Guide to Wedding Invitations is where you want to be!
This guide will cover everything you need to know to get started on your invitation adventure, including some basic terms you’ll probably see all over the place, the big four printing techniques, types of designs you can purchase, and of course budgets and how much you can expect to spend.
I’m sure you’re just itching to get going, so let’s just jump right in!
- Basic Terms in Wedding Invitations
- Your Wedding Invitation Printing Options
- Your Wedding Invitation Design
- How Much Do Wedding Invitations Cost?
- Where to Look for Stunning Wedding Invitations
- FAQ About Wedding Invitations
Basic Terms in Wedding Invitations
Before we dive too deep into all the little details, I just wanted to go over a few terms that you might not be familiar with if this is your first time even thinking about stationery and printing — especially wedding invites.
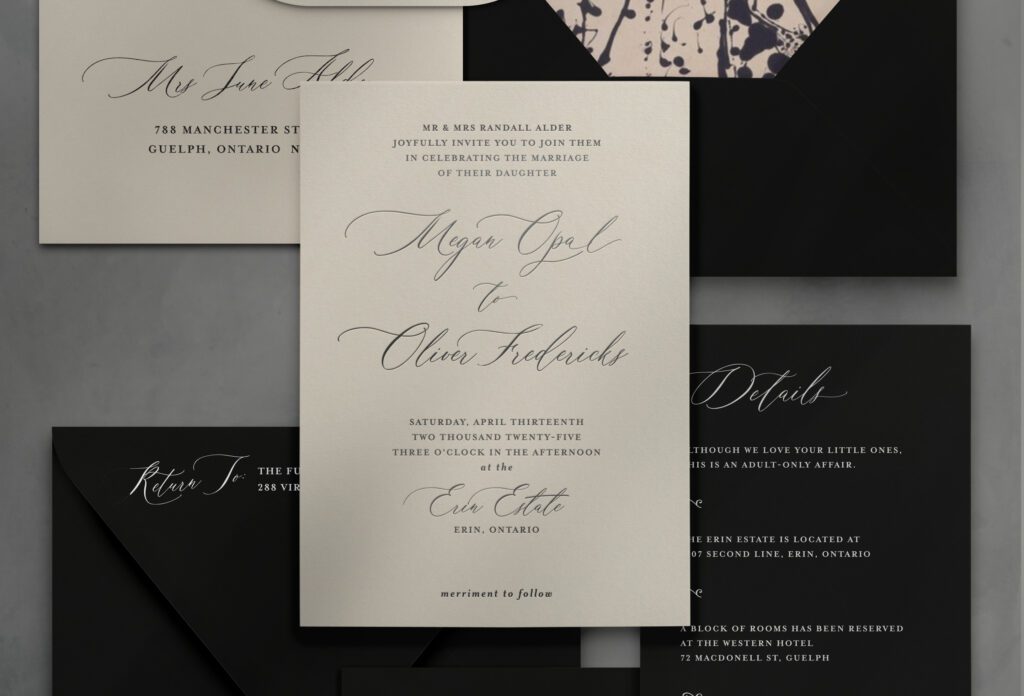
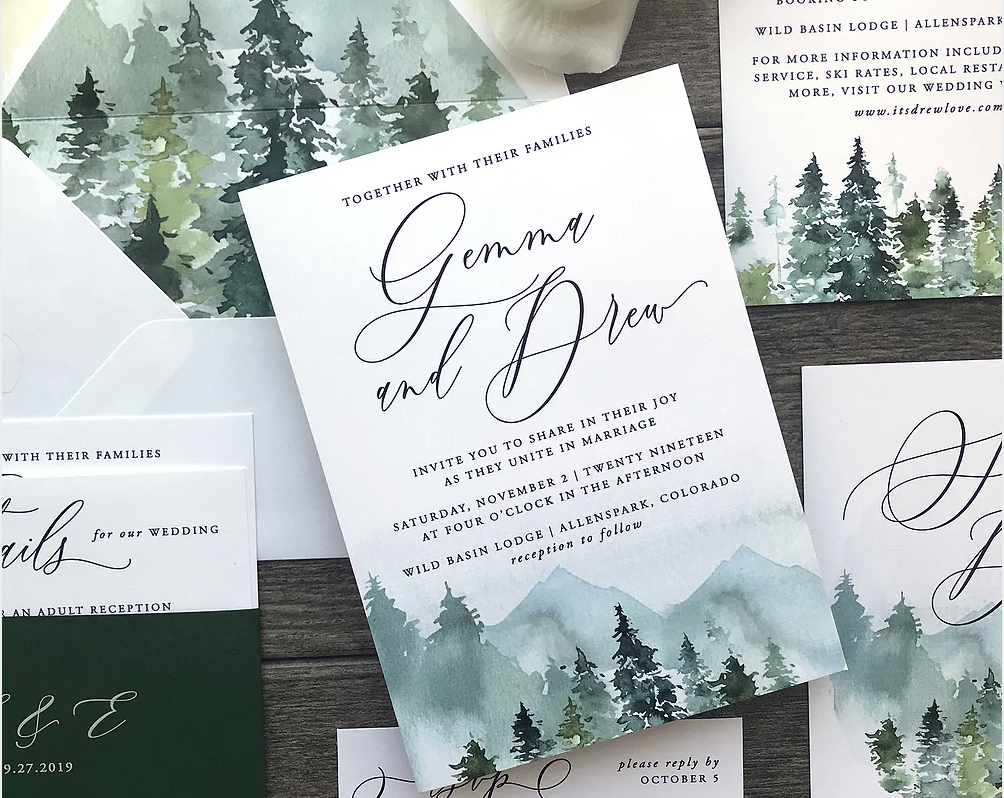
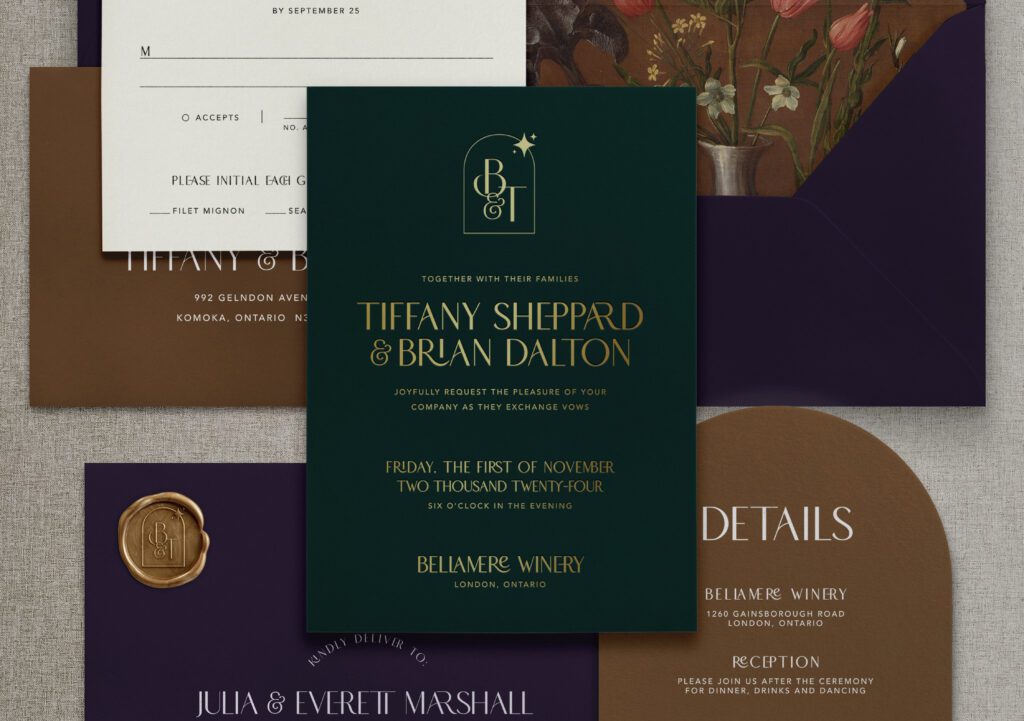
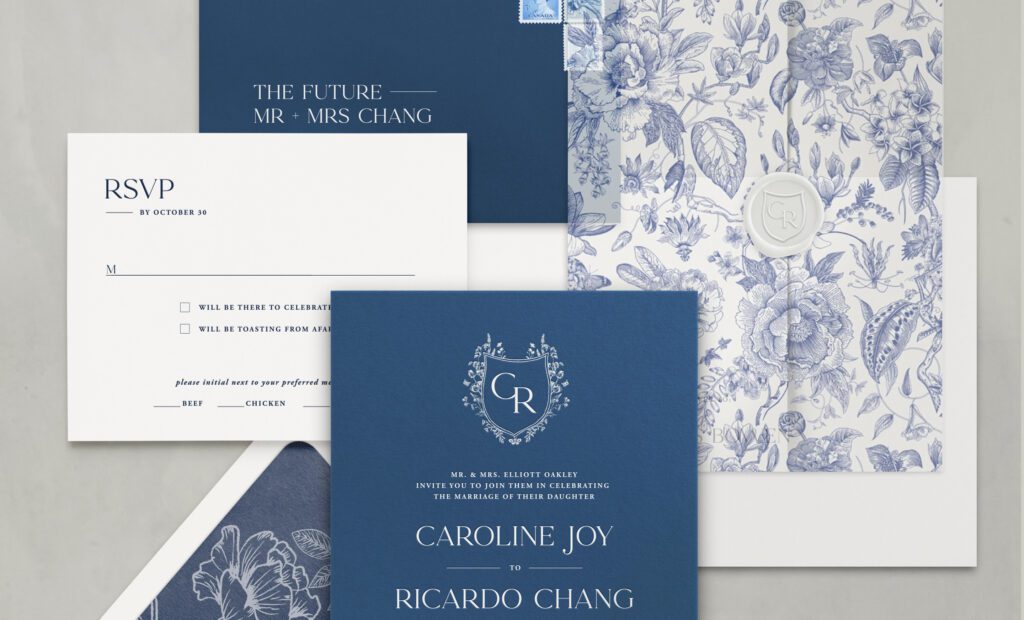
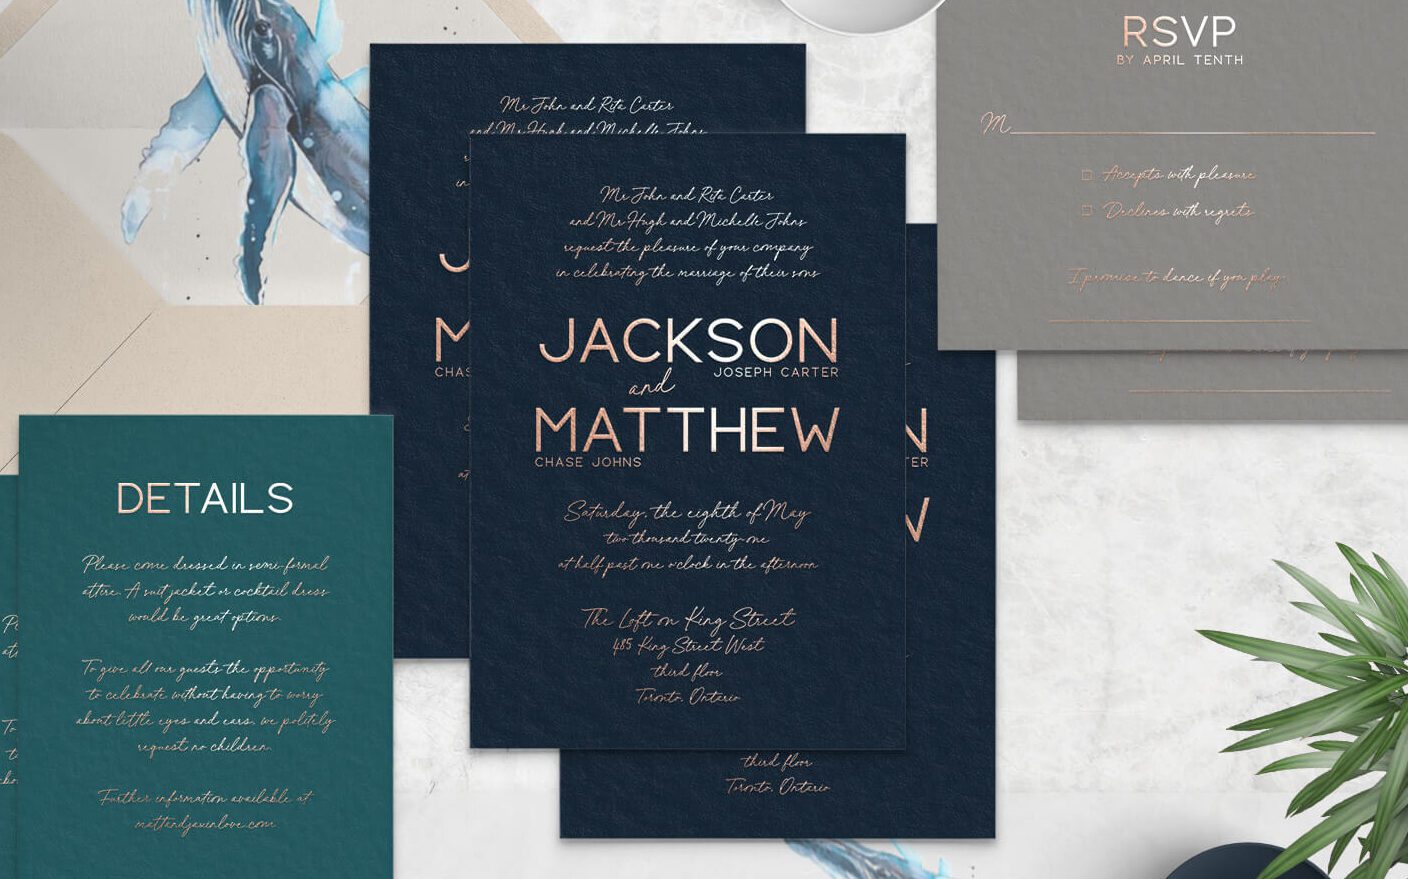
Invitation suite
The entire set of cards, envelopes and embellishments you will send to an individual. This usually includes, at minimum, an invitation card, RSVP card, details card alongside a main envelope and a reply envelope. However, your suite can also include save the date cards, thank you cards, belly bands, wax seals and other details and embellishments. A suite is a basic single unit.
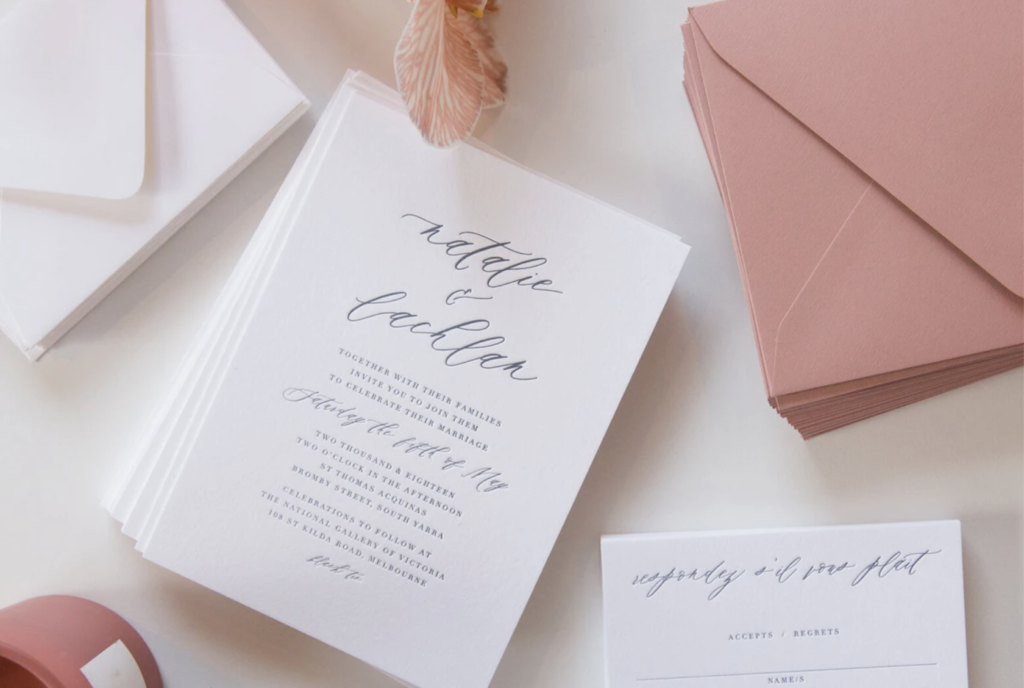
RSVP card
The card you include with your invitation that your guest should complete and return to you. This card typically requests the invitees’ names and their response (attending or declining) and can sometimes also include meal selection options and song requests.
Return envelope
This is a postage-paid envelope with YOUR address on the front. It’s included in your invitation suite for the guest to return their RSVP card to you.
Details card/Reception card
These are additional cards included in your suite that typically include additional information about your wedding, particularly your wedding reception time and location. You can use details cards to provide information about accommodations, transportation and parking, attire details, any policy information, events like rehearsal dinner or recovery brunch, your wedding website address and/or any other details your guests need to know.
Envelope liner
A thin piece of paper adhered inside of your envelope to add a pop of colour, pattern or texture. An added bonus is that the liner can add a bit of weight to your envelope and make it seem more luxe. A plain colour, a custom print, laser cut… the possiblities are endless.
Vellum
A translucent paper product. It’s now quite common as an overlay sheet or as a belly band or invitation wrap.
Invitation wording
These are the actual words you write on your invitation. It usually includes details about who is hosting the event, who is getting married, and of course the date, time and location of the event. Often, the wording used on the RSVP and details cards will also be included in this.
free resource
Your Guide to Wedding Invitation Wording
Get access to the free wedding planning resource library
Etiquette
These are the rules about how to word and address your invitations and when to send your invites. Some families take this very seriously while others are quite loose and don’t care. Essentially, these are the common practices to avoid offending your guests or being impolite. For more specific info, you can read my in-depth article on invitation etiquette.
Calligraphy
Also called hand-lettering. This is a fancy way of writing. On invitations, it’s usually used for accents like the couples’ names on their invitation or for addressing their envelopes.
Typography
The selection and use of typefaces or fonts and the way they are laid out. The majority of invitation design is about choosing the right fonts and layout for your invitation card, RSVP and details card(s).
Your Wedding Invitation Printing Options
So when it comes to your wedding stationery and, really, any special event invitations, there are a lot of printing options to consider. First, you have your 4 major printing techniques, then you’ve got your actual paper selections, your envelopes and, of course, any design treatments.
Printing techniques
The “printing technique” is going to be how your design actually gets put on paper. And while I’m sure you’re familiar with home printing and photocopying, these are not typically used for wedding invitations. Instead, your invitations are professionally printed using one of these four methods:
Digital Printing
Digital printing is probably the most common and typically the most cost-effective. This is printing in ink or toner the design on the surface of your paper. It’s essentially what your home printer will do, but a professional printer will likely have a higher resolution and better quality pigments. The important thing to keep in mind is that digital printing will reflect exactly what you see on your screen, including a huge array of colours.
Letterpress Printing
Another common printing technique in wedding stationery is letterpress. This is where your design is etched onto a printing plate or die and then inked and pressed onto your paper. This is usually done on an antique printing press, but more modern equipment is available. It is typically a one-colour process and leaves a beautiful deep pillowy impression on your card. Because you must have a unique plate for each design and the materials are expensive, this is considered a higher-end printing process and will typically cost more than digital printing.
Hot foil stamping
In many ways, hot foil stamping is very similar to letterpress. Your design is etched onto a plate and then pressed onto your paper. The difference, though, is that rather than using rollers and ink, we use heat and a specialty film for the impression. Standard foils are metallic, which leaves brilliant, shiny, reflective image / text on your invitations. That said, matte finishes are also available, so white or other solid colour foil impressions are possible.
Pricing is typically comparable or slightly higher than letterpress, but while the processes are very similar, the impression is typically less pillowy, but definitely shinier!
Thermography
Considered one of the more high-end printing processes, thermography printing uses printing ink and resin to create a raised, glass-like finish on your design. This can be used on your entire design, if it’s not particularly intricate, or can be “spot printed” on an area of the design that you want to highlight. While standard thermography uses a clear resin, colours are also available and can leave a striking impression. Because the process is more complicated and the materials are pricier, thermography printing is typically the most expensive printing option.

Paper types
The next decision you’ll want to make about your invitations is your paper. This includes the weight of your cards, the material used, and of course your colours!
Stock/weight
The “weight” of your paper or card is essentially how thick it is. Typically, thicker feels (and is) more expensive and higher-end, where lighter papers feel cheaper. That said, each printing technique has its limitations on how light or heavy your invitations can be.
Paper weight can also be super confusing because each type of paper (text weight, cardstock, etc) each have their own basis weights, so you will see an 80lb text weight and an 80lb cardstock weight, even though they are nowhere close to the same thickness. Because of this, I recommend comparing paper stock using the “gsm” measurement where possible, as it’s standardized across paper types and categories.
I personally use a 300gsm+ (or 110lb+) card for my invitations. I find this works best with my hot foil stamping press, offers a beautiful impression and gives a high-end feel to the completed suite.
Material
Another concern with your invitation cards would be what they are made of. You can choose a standard matte cardstock, 100% cotton, handmade papers or even something like solid acrylic blocks, each offering their own style and vibe.
That said, each type of material has its limitations when it comes to printing techniques. For example, letterpress usually uses cotton card to achieve the pillowy impression it’s known for, but it’s rare to find foil stamped on cotton. On the other hand, you’re likely to only be able to use something like thermography or etching on solid acrylic or ultrathick cardstock.
This is something your designer/printer should be able to walk you through, based on the printing method you prefer.
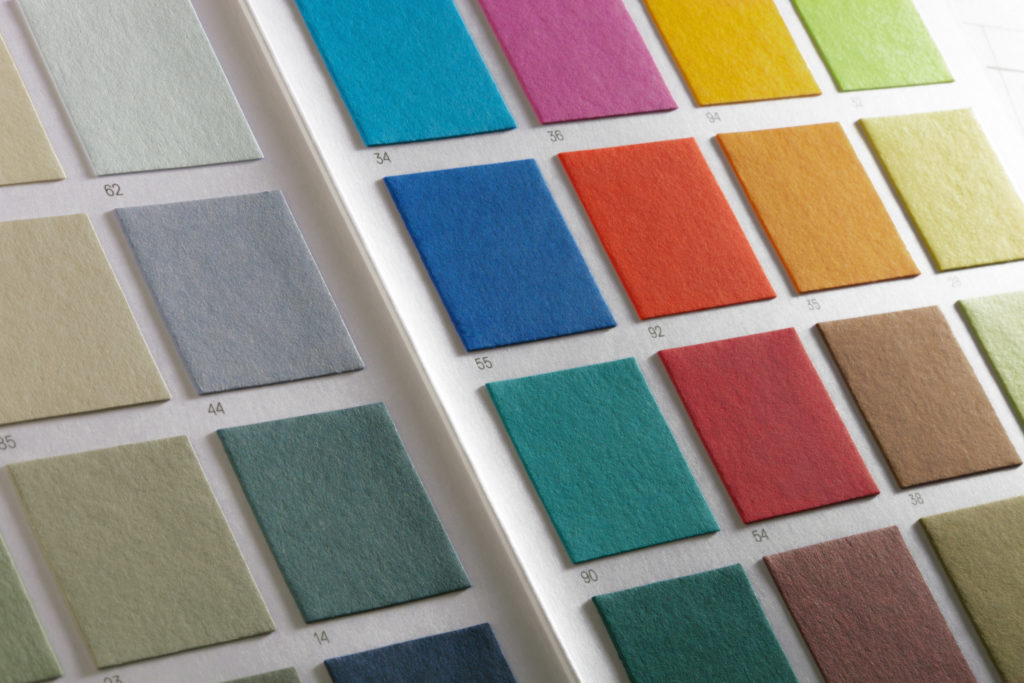
Colour
Finally, you may be able to order your invitations in a wide variety of colours. While a lot of shops only offer white and off-white options, other are able to print on a wide range of bright colours. This would depend on the designer and printer and the type of materials they use, so it’s usually best to speak with your designer or preview the options before committing — especially if you have a specific look in mind.
At Copper + Blush, we use a card stock brands that are available in over 50 colours, ranging from standard white to hot pink to black.
Envelopes
When it comes to your envelopes, there are, again, tons of options. What’s available to you will usually depend on the materials your stationer is accustomed to using and the addressing treatment you are looking for.
Some things to consider are the stock, your preferred flap style and your ideal addressing method.
Stock
The stock is the type of paper used, which is essentially the weight, texture and material. These can range from cheap, light printer paper to super-luxe, heavy textured paper or cotton. Since these are the first impression of your invitation, it can often be worthwhile to invest in nice envelopes. Heavier stocks will also protect your invitation in the mail.
Flap styles
Another consideration is what your envelope flap will look like. You can see below the most common envelope flap types. This look is important to some people, while others care more about what’s inside. Either way, it’s something to consider for your invitations.
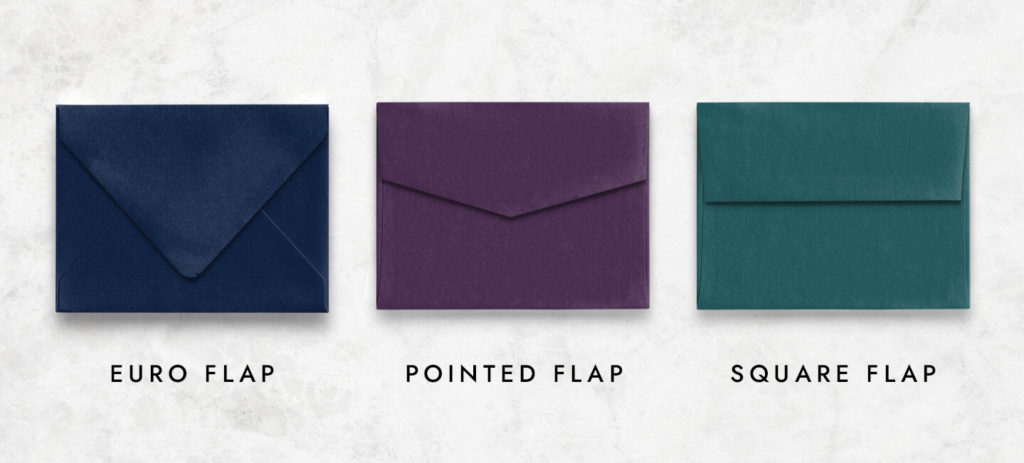
At Copper + Blush, I typically use 120-130gsm, euro-style envelopes.
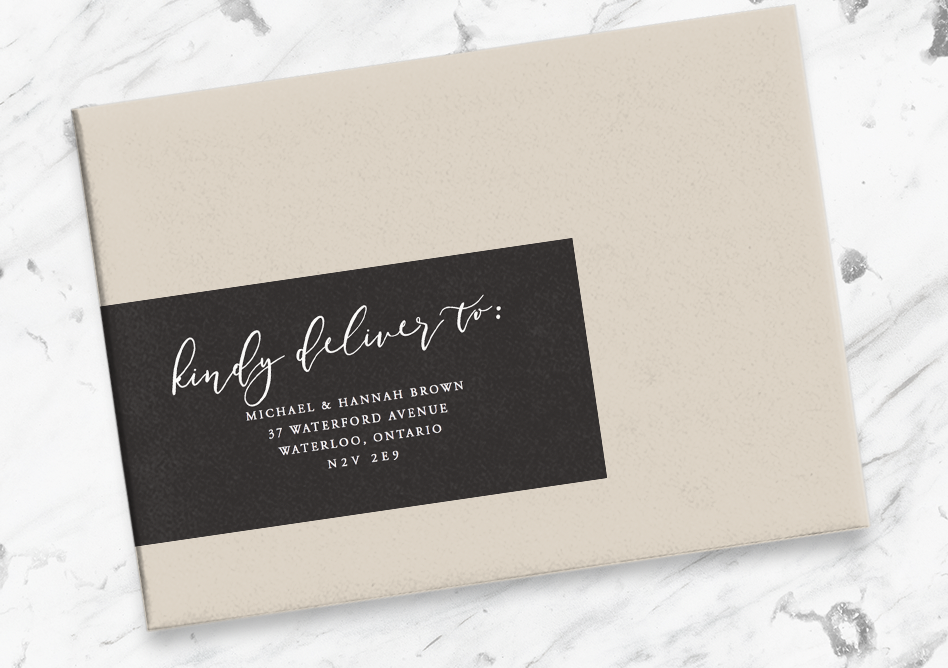
Address labels
And finally, the look of your envelopes will be greatly impacted by the type of addressing you choose. This is essentially the way in which you add your guests’ addresses to your envelopes.
The most common and least expensive option will be to print address labels. While of course you could go old school and buy some white Avery print-at-home labels if you really wanted to, you can also totally upscale your envelopes with wraparound labels — this is my personal favourite look.
Digital printing
Another great option for addressing is to digitally print your addresses. This offers a beautiful, seamless look and can be done in essentially any style thanks to the plethora of hand-lettered style fonts available online. Of course, digital printing is best on light-coloured envelopes unless you wanted to invest in specialty white ink options.
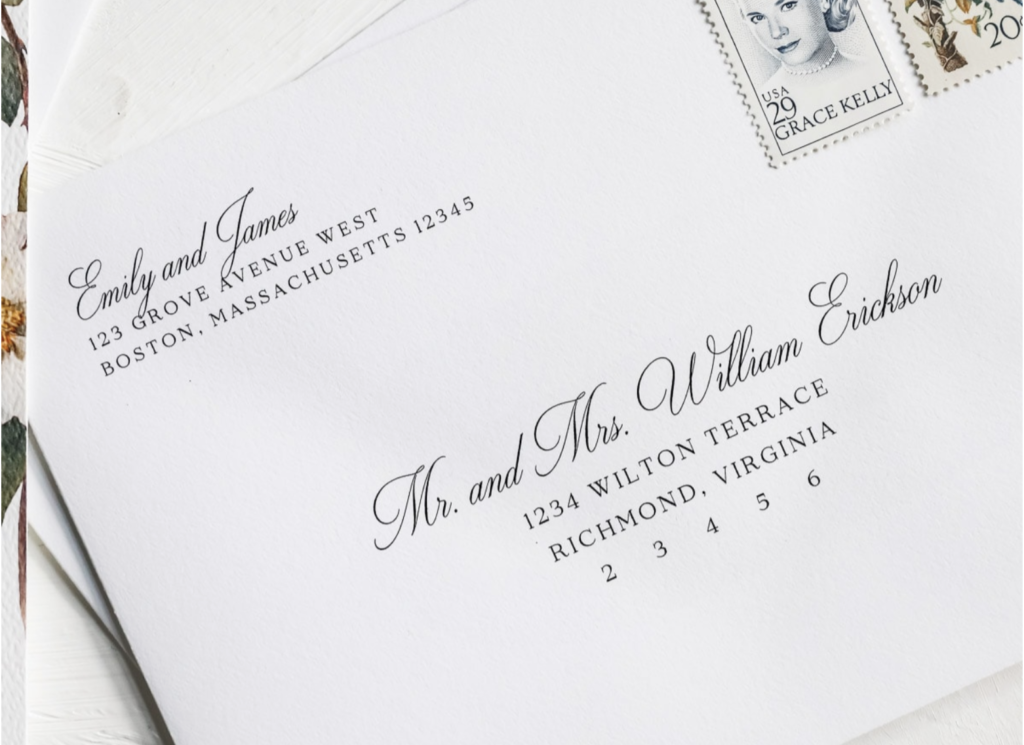
Calligraphy
And finally, the holy grail of envelope addressing is hand-calligraphy. This is where you (or more likely, an expert hand-letterer) write each address on your envelopes by hand, one at a time. This can offer a beautiful final result in essentially any style you prefer. It is much more expensive than labels or digital printing, but is universally loved! The nice thing about this option is that the calligrapher can use any colour ink, including white and even metallics, so you can use this option with any envelope colour.

Design treatments
On top of your standard invitation cards and envelopes, there are other design treatments you may want to include in your invitation suite. Some of them are described here:
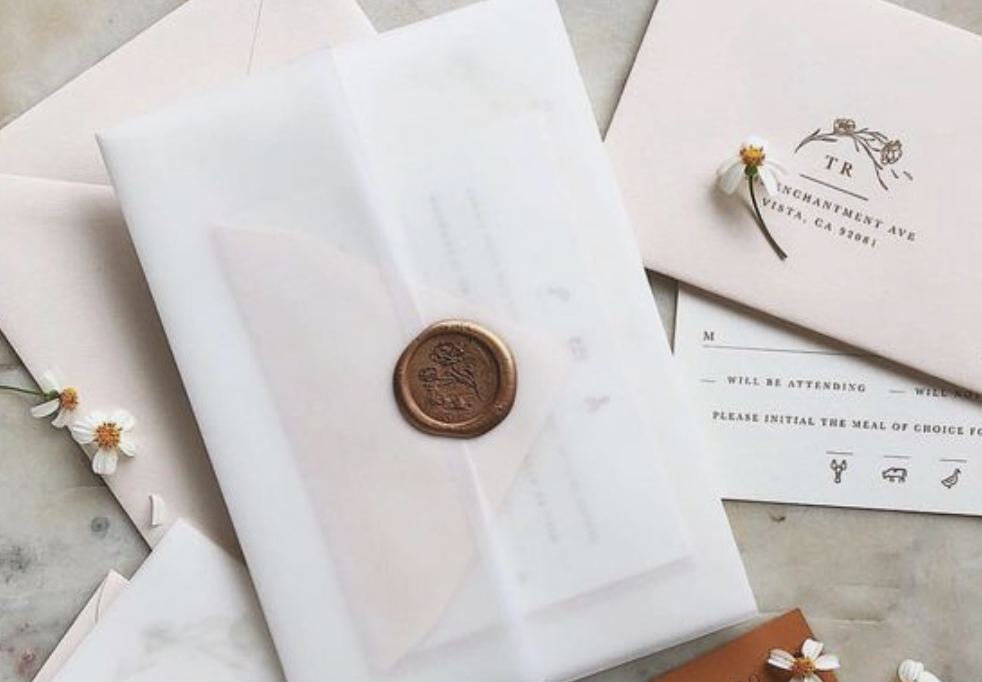
Belly bands
A thin band of paper, often translucent vellum that holds your invitation card, rsvp card, details card(s) and envelopes together in a bundle. I offer belly bands like these for purchase in my Etsy shop.
Invitation jackets
A full-height paper wrap, often translucent vellum, that holds your invitation suite together.
Vellum overlays
A translucent sheet that is usually printed and placed on top of an image or invitation card.
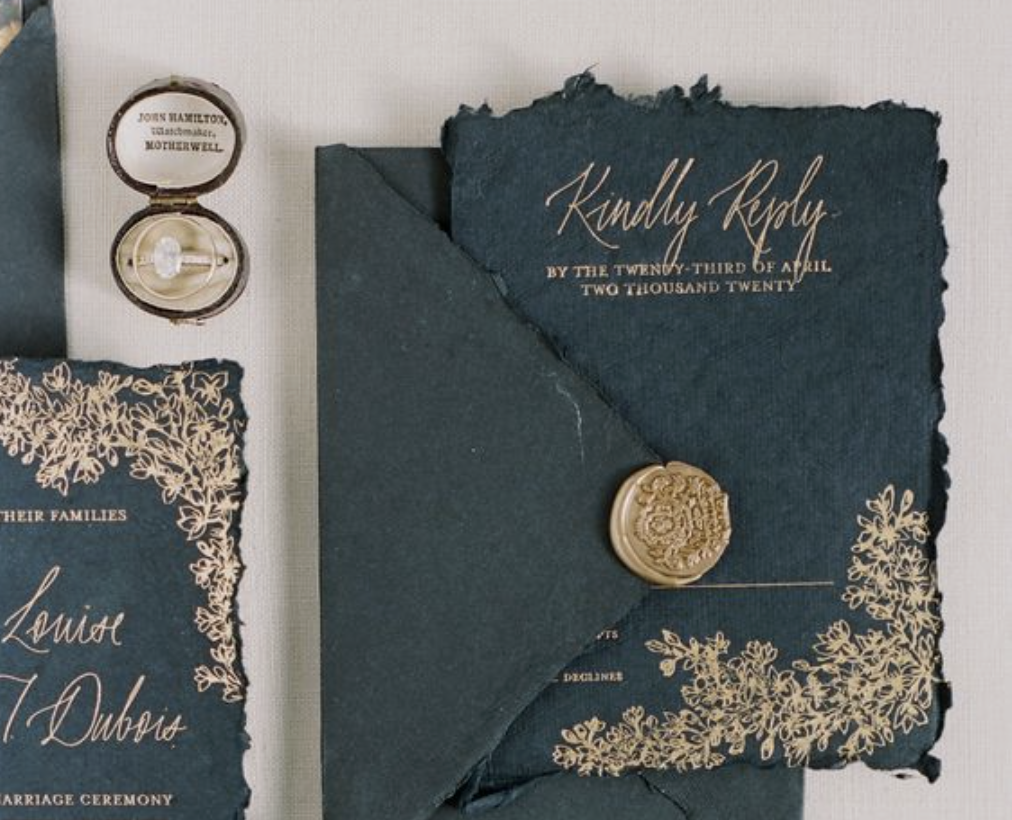
Deckled edges
Hand-torn edges, that give a rustic or natural feel to your invitations.
Edge painting
A colour or metallic treatment on the edge of the card to give a contrast, pop of colour or luxe feel.
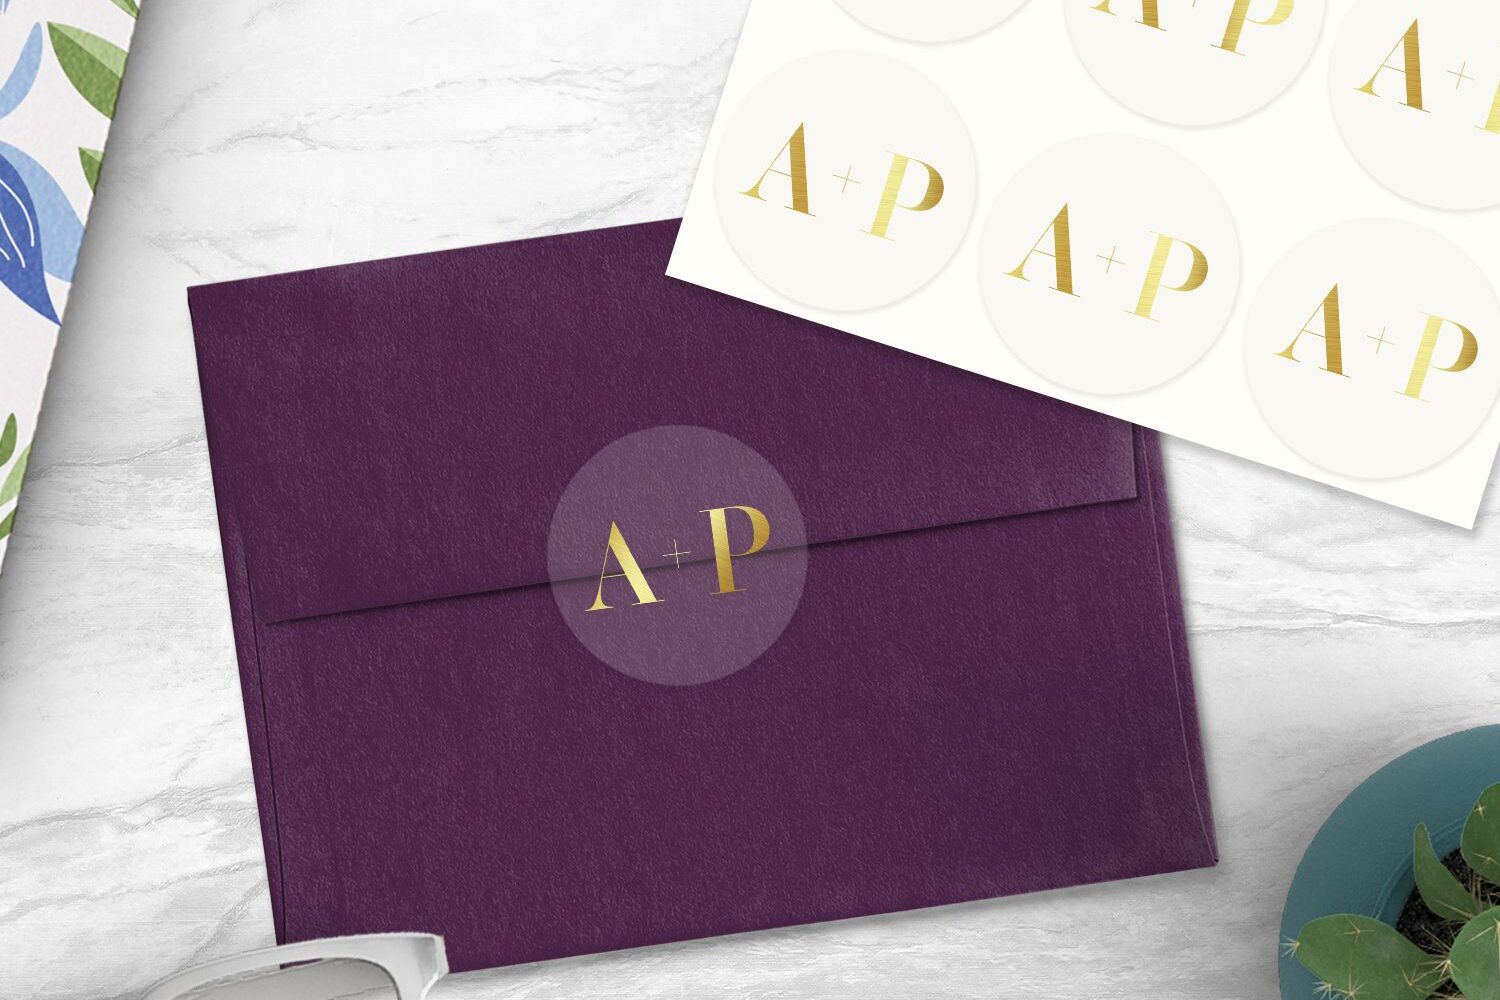
Sticker seals
Printed closure stickers. I offer transparent stickers with foil finishes for purchase in my Etsy shop. These can be used to seal belly bands or envelopes.
Wax seals
Melted wax stamped with a seal. Commonly used to close envelopes, but also used as decoration on belly bands or other packaging.
Wedding Invitation Samples
If the printing technique, paper stock and other design elements are new concepts to you, or if you prefer to have it in front of you to really experience your options, most stationers offer invitation samples. These are a great way to get a taste of what your final invitations can be.
Your Wedding Invitation Design
Now that you know all the basics of printing techniques and materials for your wedding invitations, let’s talk a bit about invitation design and specifically how you can get those dream invites you’ve been pinning!
Doing it Yourself
If you’re on a tight budget and you are a creative person, you can design your invites yourself and find a printer who uses your preferred printing technique. And then trim, assemble, address and mail out your invites yourself (or with your besties if that’s their thing!). The upside to this is that it’s much more cost-effective than some of the other options. If you’re a crafty person, this might be right up your alley!
That said, you will be totally on your own. You won’t be able to benefit from an expert’s opinion and you will be totally liable for any errors in file setup. It also takes a lot of time that you might not have if you’re in the midst of planning everything else that’s happening with your wedding.
Further, while you’ll likely save some money, buying materials and equipment to create your dream invites can start to add up and options like letterpress, hot foil and thermography are likely to be cost-prohibitive to DIY.
Buying a template
If you’re not the designing type, you can still mostly DIY your invitations by buying a pre-set template and printing it yourself. These templates are bountiful on sites like Etsy and can be a great option if you’re on a budget but not as crafty.
Alternatively, you can have your invitations printed by a design aggregate / commercial printer. Places like Zazzle, Basic Invite, or Minted are good options with a huge selection of designs.
Templates are especially good if you’re interested in a basic digital printed suite. You will still have to assemble and mail them out yourself, but you at least have the design to work with! While you won’t receive any sort of personalized attention or a unique design experience, this option can be budget-friendly, if you don’t go overboard with extras!
Hiring a designer
When looking for an invitation suite that blows you and your guests away, along with an individualized experience you’ll probably never have again, hiring a professional designer for your wedding invitations is a fantastic option.
Most designers will know way more about all these things than you could probably imagine and will be able to offer their experience on top of their design skills and personal service. Not only that, but you won’t ever have to worry about tracking down each bit of your invitation, figuring out how to put it all together, and ensuring everything coordinates perfectly. Plus, you’ll be able to find someone who is an expert in the type of printing you’re looking for.
If you’re looking to save a bit of money and not looking for something totally custom, lots of designers will offer a house collection. This is essentially a set of pre-designed suites you can choose from. You can then have the designer personalize it for you, arrange all the details, printing, proofs and embellishments, and tap into their expertise at a reduced cost.
While I personally don’t offer a house collection, I do offer fully custom designs and hot foil stamping expertise. If that’s something you’d like for your wedding, you can read more about what I offer or request my ordering guide.
How Much Do Wedding Invitations Cost?
Ah, yes! The all-important question: How much do wedding invitations cost? Well, the short answer is they can cost any amount you want them to.
If you’re on a super-tight budget, you can make that work by DIY-ing or finding an inexpensive printer. You can also just limit the number of pieces on your suite or even send a digital invite if that’s your thing.
However, if you’re looking at one of the high-end printing options (like letterpress or hot foil stamping), you’re probably going to have to work with a designer who specialized in that, which will cost most, of course!
The truth is that you can find an invitation solution that fits any budget.
That said, it’s your wedding. If you are looking for a one-of-a-kind experience and a completely custom, luxury invitation, hiring a designer is probably the right move. Trust me — nothing feels as luxurious as having your design options dropped in your inbox, picking all the things you like and then having the real-life thing delivered to your front door. No fuss, no worrying about the details — and you have a beautiful, high-end invitation suite ready to send off to your guests!
If you do go for this option, you can expect to spend about $1500-4500, depending on who you work with, how complex your suite is and how many guests you’re expecting.
*Requisite shameless plug: read more about working with me on your invitations or request my ordering guide*
Where to Look for Stunning Wedding Invitations
So, you’re all set to get ordering — where do you look? Here are some of my favourite shops and studios:
*Note: these are NOT affiliate links — I don’t receive any compensation if you choose to order from any of these shops. However, if you want to tell them you heard about them from me, I wouldn’t hate you for it!*
Templates & Digital Printing
Letterpress Wedding Invitations
Hot Foil Stamped Invitations
Copper + Blush (that’s me!)
FAQ About Wedding Invitations
How do I know which option is right for me?
I personally think choosing an option is a balance between your style, budget and level of organization/craftiness. Some people are just naturally good at crafting, have tons of equipment and materials and can just go for it. Others need to keep a tight budget in mind.
If it fits in your budget and you want to give your guests a fantastic impression of your day, OR you just want to treat yourself for your wedding, a custom suite is right for you!
When should I order my wedding invitations?
Custom designers will typically request that you inquire with them at least 8 months before your wedding — or even further out if you also want them to do your save the date cards.
For templates and digital printing, you can probably leave it a bit later as the turnaround time is much quicker.
How many wedding invitation suites will I need?
I usually quote couples based on about 60% of their total guest count. Then, when it gets closer to the day and they have a set guest list, we simply count up the households and send one to each.
That said, if you have more single people to invite, you’ll want to estimate closer to 70%, or if you have mostly families attending, you can dip down to 50%.
Remember to also account for a few keepsake copies for yourself and your parents as well as a few copies for your photos!
When should I be sending out wedding invitations?
Most couples send out invitations 8-12 weeks ahead of their wedding. This gives guests plenty of time to RSVP, make plans and find child care. If you’ve already sent a save the date, you can usually go for 8-9 weeks out, or if many guests are coming from out of town, opt for 10-12 weeks.
What if I’m having a micro wedding?
If you’re having a micro wedding because that’s your style, you can absolutely still work with a custom designer for your invitations. In fact, it’s the perfect opportunity to splurge, since you don’t have to stretch your budget as far! Most designers can accommodate smaller print runs.
What Now?
That is pretty much all the information you’ve ever needed or wanted to know about wedding invitations! However, there’s actually a lot I didn’t include here. If you have any questions about ordering your wedding invitations, please feel free to reach out to me or check out my 10 things to consider before buying your wedding invitations.
If you’re interested in ordering hot foil stamped wedding invitations from Copper + Blush, read more about me and what it’s like to work with me, or request my ordering guide.

hey! i’m gillian!
Paper person. Jeopardy nerd. Magpie [hoarder of shiny things].
Most people call me Gill (like Jack ‘n). I’m the owner/designer/maker here at Copper + Blush. Making stunning foil stationery you will absolutely love is totally my cup of tea.
When I’m not working away in my home studio, I’m most likely picking up (yet another) new hobby or snuggling up with my hilarious husband on our comfy couch.
Looking for a designer for your wedding stationery? Check out more about what we can create together!
Don’t forget to Pin it!